
Recording audio on a Chromebook may seem tricky at first, especially since there’s no built-in tool for the task. However, with the right apps and methods, capturing audio is easier than you’d think. Whether you’re looking to record for work, school projects, or creative endeavors, I’ve personally explored and tested many options to compile a list of the best audio tools for Chromebooks. This guide will walk you through everything, from choosing the right tool for your needs to step-by-step instructions for each of the software to make sure you do it correctly.
How To Record Audio on Chromebook
Ready to start recording audio on your Chromebook? With a few simple steps and the right tools, you’ll be capturing high-quality audio in no time. Whether you need it for work, school, or a creative project, we’ll guide you through each option so you can choose the best method for your needs. Let’s get started!
BandLab: Best for Recording on ChromebookBandLab is a versatile recording tool for Chromebook users, perfect for musicians and podcasters with collaborative audio experience and some of the great editing features.
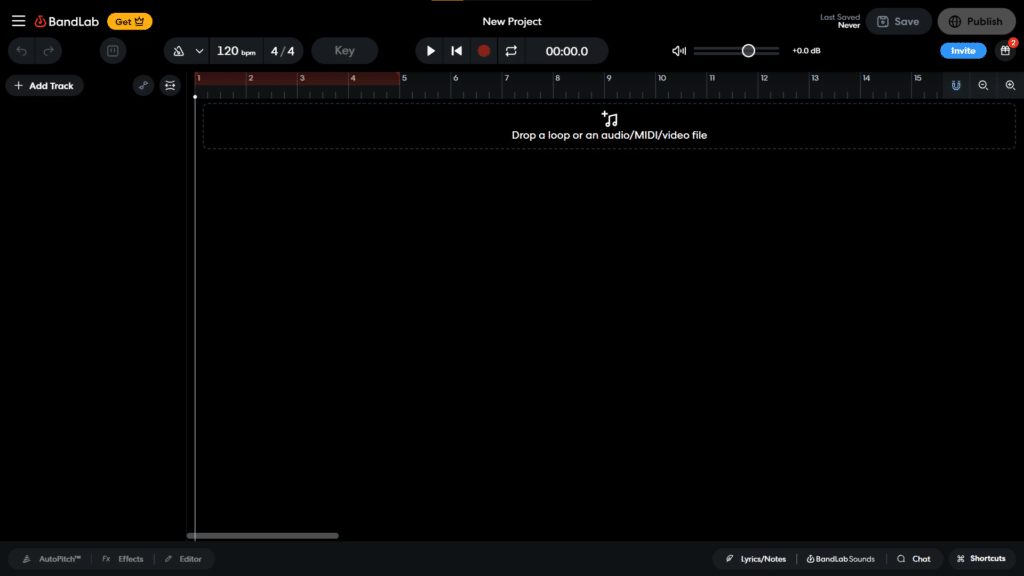
BandLab is an excellent browser-based DAW (Digital Audio Workstation) that provides Chromebook users with a complete set of tools for recording, editing, and sharing audio. It’s perfect for musicians, podcasters, and creators who want a full-featured, collaborative audio experience without installing additional software. With BandLab, you can access a variety of virtual instruments, effects, and sound libraries, making it versatile and practical for all kind of recording needs.
BandLab comes with collaborative features, allowing multiple users to work on the same project in real time. This makes it an excellent choice for remote collaboration or band members who want to create music together from different locations. Plus, BandLab’s cloud storage ensures you can access your projects from any device, making it incredibly convenient.
Steps to Install and Use BandLab on a Chromebook
Step 1: Go to BandLab’s website and sign up for a free account.
Step 2: Once logged in, select “Create” to start a new project.
Step 3: Choose “Voice/Mic” or other instruments to start recording, and allow microphone access if prompted.
Step 4: Press the red record button to begin recording audio. To stop, press the stop button.
Step 5: Use the editing tools available to add effects, edit tracks, or enhance the audio.
Step 6: When finished, select “Download” or “Export” to save your project in your preferred format.
Best Open Source with Editor: AudacityAudacity is a powerful, open-source audio editor and recorder. It’s best for professional users who want full control over their recordings with advance editing features.
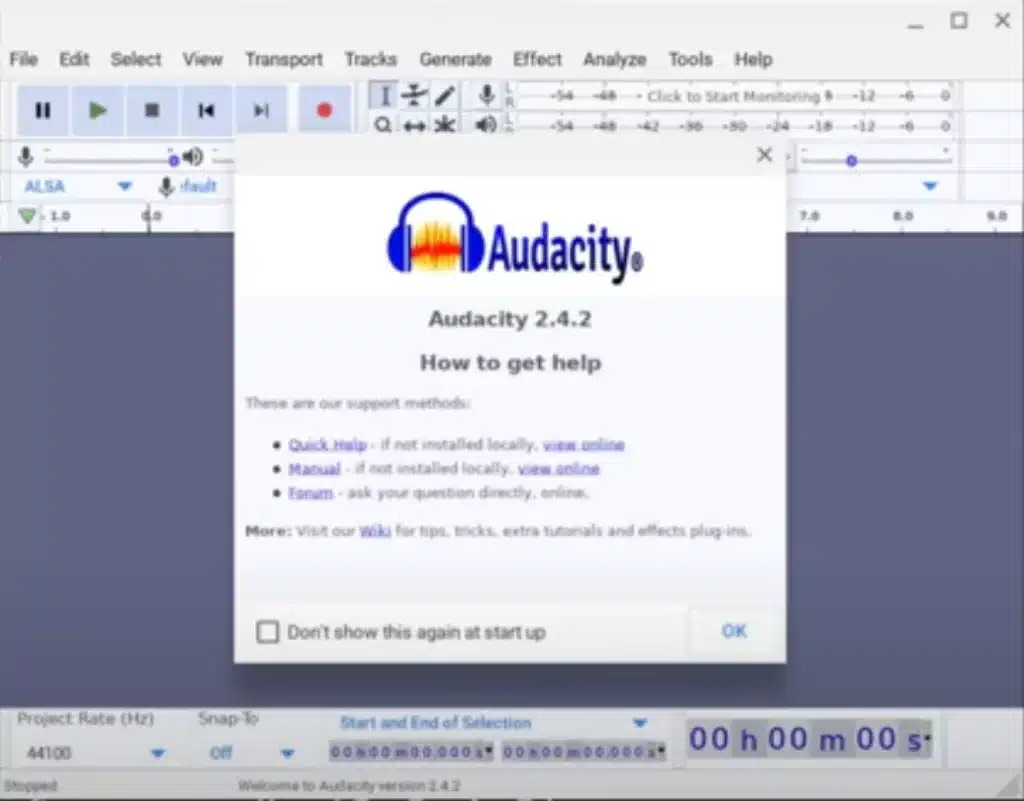
Audacity is a open-source audio editing software perfect for users looking for a professional-grade tool on Chromebook. It provides versatile features for recording and editing audio with its intuitive interface, making it ideal for creating podcasts, music, and more.
Audacity offers a wide range of tools such as multi-track editing, noise reduction, and support for plugins, all without any cost. It’s a great option for Chromebook users who want detailed control over their audio projects, especially since it’s free and accessible via Linux.
Steps to Install and Use Audacity on a Chromebook
Step 1: Enable Linux (Beta) on your Chromebook by going to Settings > Linux (Beta) > Turn On and following the setup instructions.
Step 2: Open the Terminal and update Linux packages by entering:
bashCopy codesudo apt update
Step 3: Install Audacity by typing:
bashCopy codesudo apt install audacity
Step 4: Connect a microphone to your Chromebook if you’re using an external mic, then launch Audacity from your Linux apps folder.
Step 5: Adjust your Audio Host to ALSA and select your desired Recording Device (e.g., internal or external microphone).
Step 6: Select the Red record button to start recording and use the Yellow stop button to finish.
Step 7: Once done, go to File > Export and choose your preferred format (MP3, WAV, etc.) to save your recording.
Best for Note-Taking: Otter.aiOtter.ai is an excellent tool for Chromebook users looking for efficient, AI-powered transcription and note-taking capabilities.
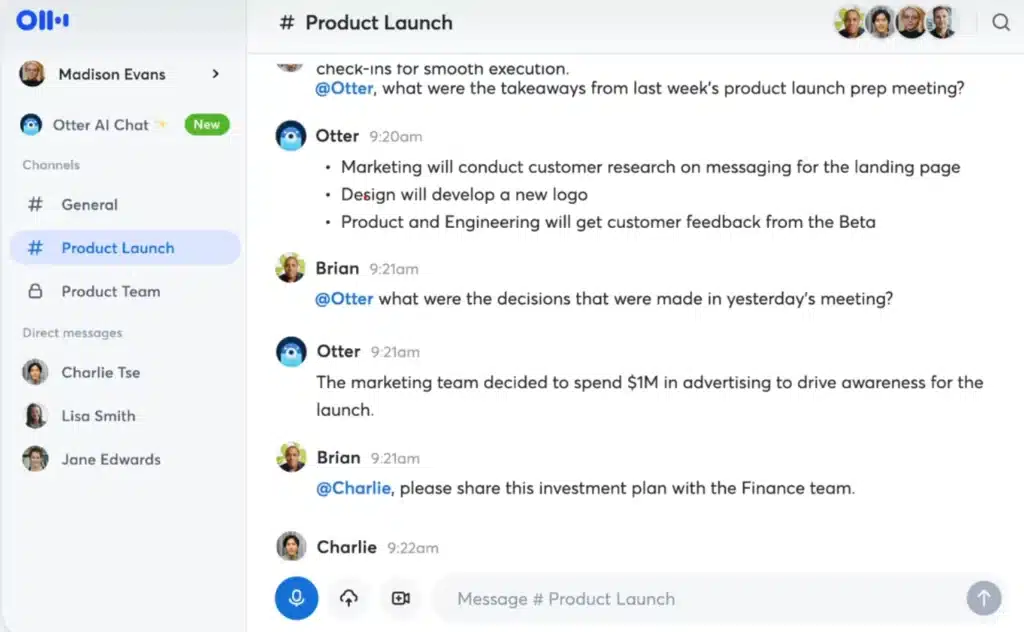
Otter.ai is an excellent tool for Chromebook users looking for efficient, AI-powered transcription and note-taking capabilities. It helps you automatically transcribe meetings, lectures, or interviews in real-time, making it a must-have for students, professionals, and anyone who needs to capture detailed notes effortlessly.
With Otter.ai, you can record, edit, and share notes directly from your browser. The tool provides real-time transcription with high accuracy, and it can distinguish between different speakers, making it perfect for collaborative environments.
Steps to Install and Use Otter.ai on a Chromebook
Step 1: Open your Chromebook and navigate to the Otter.ai website.
Step 2: Sign up for a free account or log in if you already have one.
Step 3: Once logged in, click on “Create” to start a new transcription or select “Record” to begin recording a live session.
Step 4: Allow Otter.ai access to your microphone when prompted.
Step 5: Click the red Record button to start recording. As you speak or listen, Otter.ai will transcribe your words in real-time.
Step 6: Once you’re done, click Stop, and Otter.ai will process and display your transcription.
Step 7: Edit the transcription if necessary, and select Export to save it as a text file, PDF, or share it with others.
Best for Beginners: Beautiful Audio EditorBeautiful Audio Editor is a simple and user-friendly audio editing tool that works as a Chrome extension, making it easy for beginners to edit audio directly in their browser.
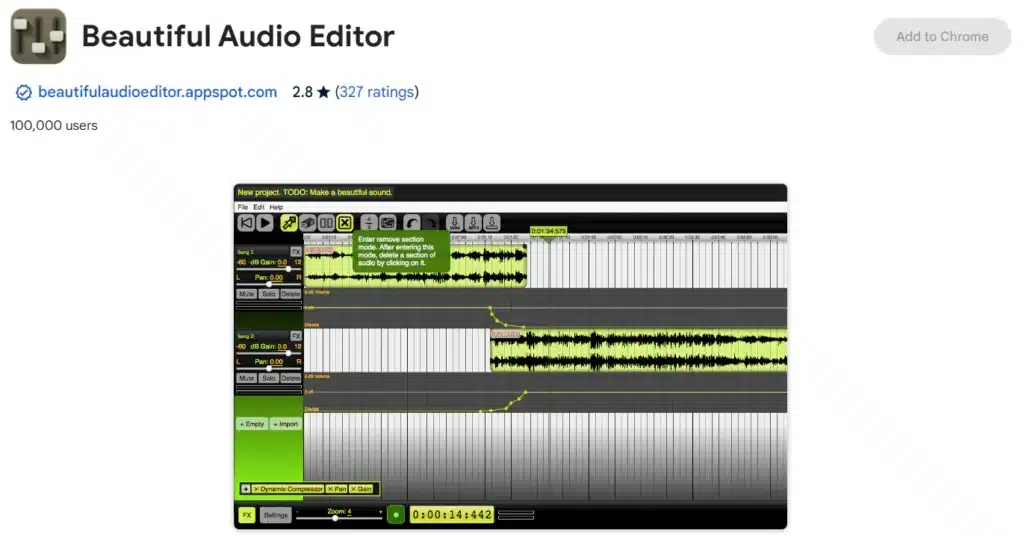
Beautiful Audio Editor is a simple and user-friendly audio editing tool that works as a Chrome extension, making it easy for beginners to edit audio directly in their browser. Its clean interface and basic editing features allow users to trim, fade, and apply simple effects to audio files without the complexity of professional editing software. It’s perfect for those who need quick and easy editing on their Chromebook.
As a browser-based extension, Beautiful Audio Editor provides an accessible way to edit audio without the need to install any software, making it ideal for Chromebook users who prefer a straightforward, no-fuss editing experience.
Steps to Install and Use Beautiful Audio Editor on a Chromebook
Step 1: Open the Chrome Web Store and search for “Beautiful Audio Editor.”
Or visit Beautiful Audio Editor’s Chrome Extension page.
Step 2: Click “Add to Chrome” to install the extension.
Step 3: Once installed, click on the extension icon in the top-right corner of your browser to launch the editor.
Step 4: Upload your audio file by clicking the “Upload” button. Choose the file you want to edit from your local storage.
Step 5: Use the editing toolbar to trim, cut, fade, or adjust the audio. Simply select the area you want to edit and apply the desired action.
Step 6: Once you’ve made your edits, click “Export” to save the file in your preferred format, such as MP3 or WAV.
Vocaroo: Fast and Simple Browser-Based Audio RecordingVocaroo is a user-friendly, online audio recording tool that requires no installation, making it perfect for quick voice memos, notes, or short recordings
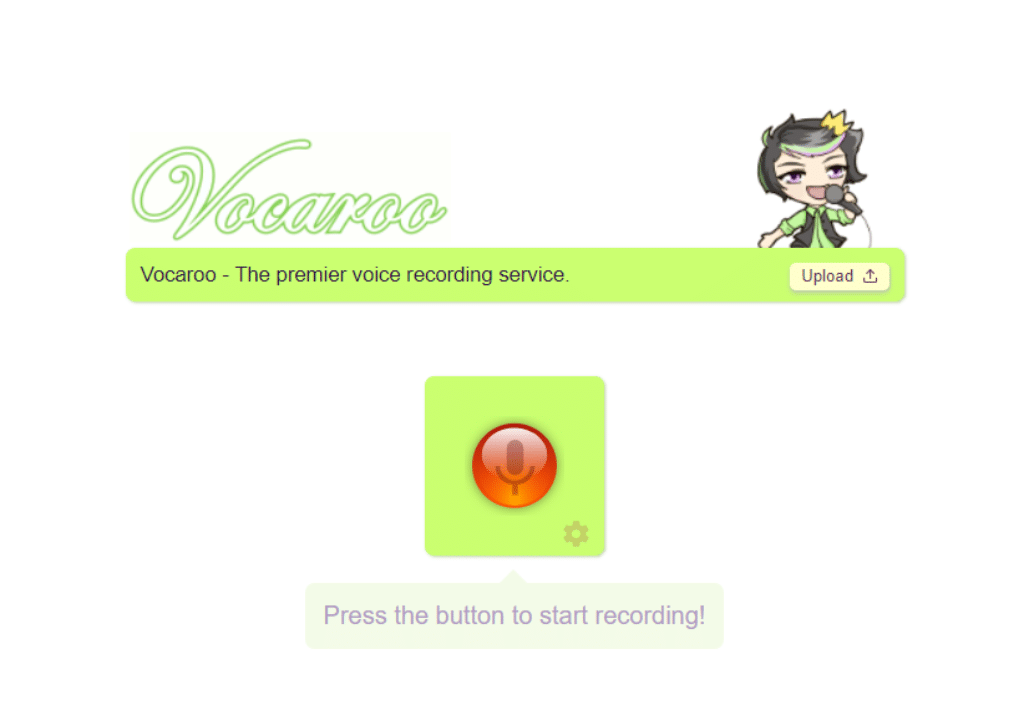
Vocaroo is a user-friendly, online audio recording tool that requires no installation, making it convinent for quick voice memos, notes, or short recordings. It works directly in your browser, allowing users to record, share, and download audio effortlessly. Whether you need a quick way to capture an idea or record a short message, Vocaroo provides an efficient, no-frills solution.
Steps to Install and Use Vocaroo on a Chromebook
Step 1: Go to Vocaroo’s website on your Chromebook.
Step 2: Click the red “Click to Record” button to begin recording.
Step 3: Speak into your microphone, and click the stop button when you’re finished.
Step 4: Listen to your recording and decide if you need to redo it.
Step 5: Once you’re satisfied, select “Save & Share” to download the audio file or share the link directly.
Step 6: Choose to save your recording in your preferred format or copy the link to share it with others.
FAQ’s To Record Audio on Chromebook
Do Chromebooks come with an audio or voice recorder?
Unfortunately Chromebooks do not come with a built-in audio recorder. While Android devices have the Google Recorder app, Chromebooks require you to download a third-party audio recording app or use an online voice recorder.
Can I use the Recorder app by Google on a Chromebook?
No, the Google Recorder app, which is preinstalled on some Android devices, is not compatible with Chromebooks. To record audio, you’ll need to use third-party apps or web-based recorders like Mic Note or Beautiful Audio Editor.
What kind of apps can I use to record audio on a Chromebook?
You can use web-based audio recorders or install Android or Linux apps on a Chromebook. Most modern Chromebooks support these options, but older models may only support web apps due to compatibility limits.
Does the Chromebook screen recorder record audio?
Yes, the built-in screen recorder on Chromebooks can capture audio when recording the screen. Be sure to enable the microphone option in the screen recorder settings to capture your voice or other sounds during the recording.
Can I record myself on my Chromebook?
Yes, you can record yourself using the Chromebook’s Camera app in video mode, which captures both video and audio. Alternatively, you can use third-party apps specifically for voice or video recording, depending on your needs.


